Roblox Scripting Guide: Master Lua Fundamentals in 7 Days
Advertisements
This comprehensive 7-day Roblox Lua scripting guide empowers young creators to master fundamental programming concepts, enabling them to design and build interactive games and unique experiences within the Roblox platform.
Anúncios
Have you ever dreamed of creating your own incredible games on Roblox? Imagine building worlds, designing challenges, and bringing your wildest ideas to life. This Roblox Scripting Guide: Master Lua Fundamentals in Just 7 Days is your ultimate roadmap to turn those dreams into reality, teaching you the essential coding skills with Lua, the language that powers Roblox.
Anúncios
The journey begins: understanding Roblox Studio and Lua
Embarking on your Roblox scripting adventure starts with getting familiar with the tools of the trade. Roblox Studio is your creative hub, the place where you’ll build, design, and, most importantly, code your games. Think of it as your digital workshop, filled with all the components you need to bring your imagination to life. Lua, on the other hand, is the magic spellbook, the programming language that tells your creations what to do. Understanding how these two work together is the first step toward becoming a Roblox developer.
Setting up your workspace
Before you write your first line of code, you need to set up Roblox Studio. It’s free to download and install, and it’s designed to be user-friendly, even for beginners. Once installed, you’ll open it up and see a blank canvas, ready for your ideas. Familiarize yourself with the interface: the Explorer window, which shows all the parts of your game; the Properties window, where you can change how things look and behave; and, of course, the Script Editor, where the real coding magic happens.
- Download and install Roblox Studio.
- Explore the Explorer and Properties windows.
- Locate the Script Editor for writing code.
The initial setup might seem a bit overwhelming with all the buttons and windows, but don’t worry. Each element has a purpose, and you’ll quickly learn their functions as you start building. The key is to take your time and explore. Click around, open different menus, and see what everything does. This hands-on exploration will build your confidence and make the learning process much smoother. Remember, every expert was once a beginner, and every great game started with a single step.
Lua is a powerful yet simple programming language, perfect for beginners. It’s known for its clear syntax, which means it’s relatively easy to read and write. Roblox has integrated Lua seamlessly into its platform, allowing you to control almost every aspect of your game, from player movement to object interactions. This section lays the groundwork for your entire scripting journey, ensuring you have a solid understanding of your environment before diving into complex concepts.
Day 1: variables and basic data types
On your first day, we’ll dive into the core building blocks of any programming language: variables and data types. Think of variables as containers that hold information. This information can be numbers, text, or even true/false statements. Understanding how to declare and use variables is fundamental to making your games dynamic and interactive. Without them, your game would be static and unable to adapt to player actions or changing conditions.
Declaring your first variables
In Lua, declaring a variable is straightforward. You simply give it a name and assign it a value. For example, local playerName = "RobloxFan" creates a variable named playerName and stores the text “RobloxFan” inside it. The local keyword is important; it means the variable only exists within the script or function it’s declared in, which helps keep your code organized and prevents accidental changes.
- Use
localto declare variables. - Assign values using the
=operator. - Choose descriptive variable names.
Data types determine what kind of information a variable can hold. Lua has several essential data types: numbers (like 10 or 3.14), strings (text enclosed in quotes, like "Hello world!"), booleans (true or false), and tables (which we’ll explore later). Knowing which data type to use is crucial for performing correct operations and avoiding errors in your scripts. For instance, you can do math with numbers, but not directly with text.
Practice declaring different types of variables and printing their values to the Output window in Roblox Studio. This immediate feedback will help you understand how Lua stores and interprets information. Don’t be afraid to experiment with different names and values. The more you practice, the more comfortable you’ll become with this foundational concept, setting you up for success in the days to come. This initial step is critical for all future scripting endeavors.
Day 2: operators and conditional statements
Now that you understand variables, it’s time to make them do something! Day two focuses on operators, which allow you to perform calculations and comparisons, and conditional statements, which enable your code to make decisions. These concepts are what bring interactivity to your games, allowing them to respond differently based on various conditions, such as a player’s score or whether they’ve collected an item.
Performing calculations with operators
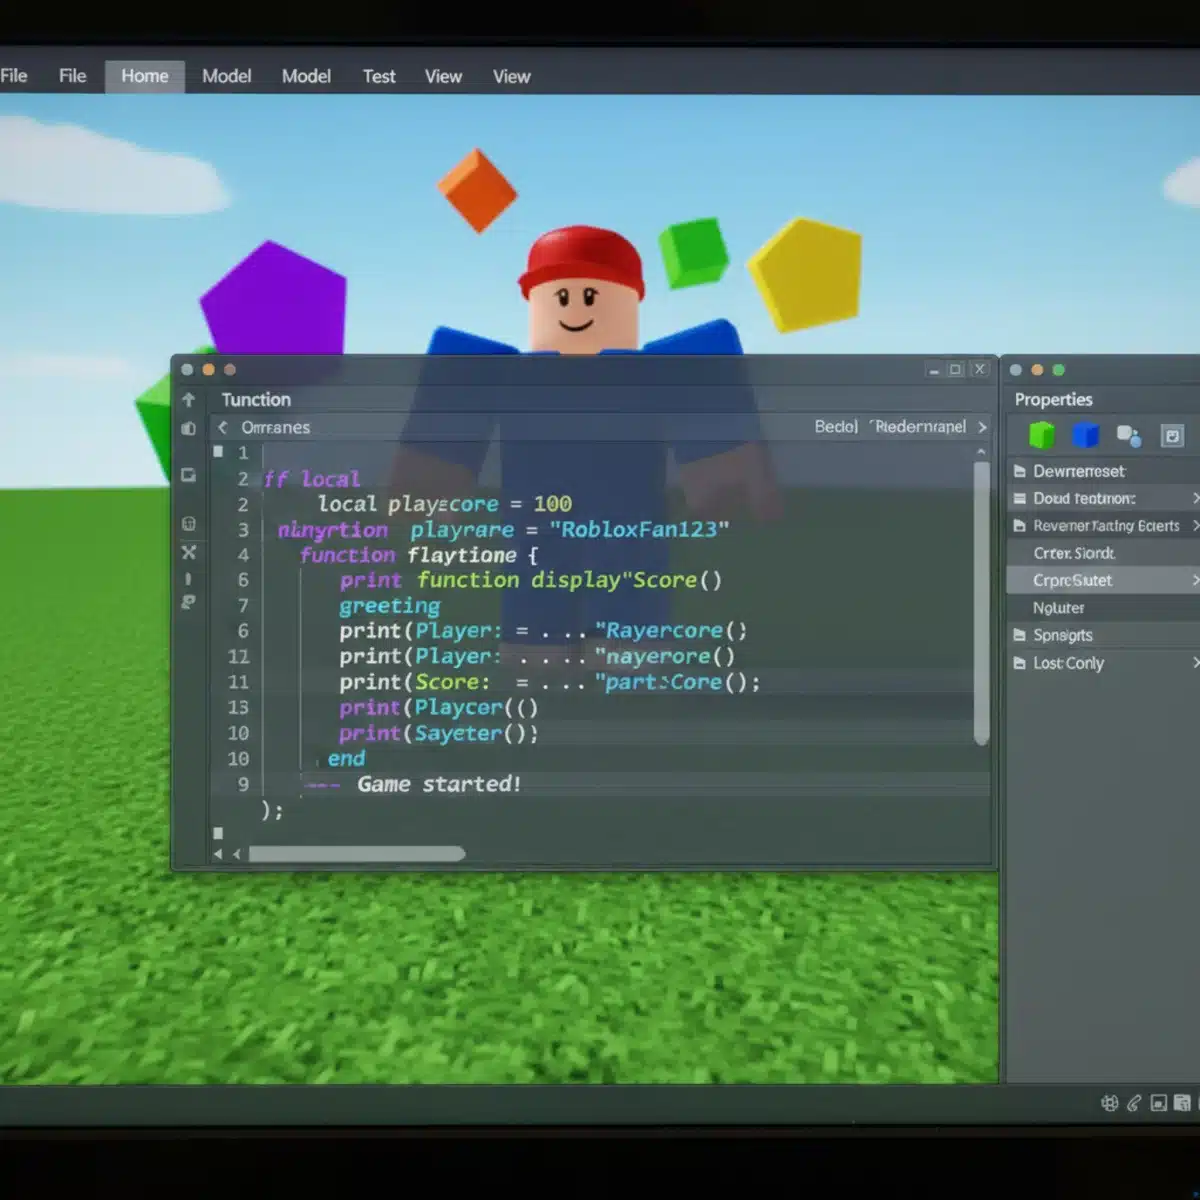
Arithmetic operators perform mathematical calculations: + (addition), - (subtraction), * (multiplication), / (division), and % (modulo, which gives the remainder of a division). Comparison operators, such as == (equal to), ~= (not equal to), < (less than), > (greater than), <= (less than or equal to), and >= (greater than or equal to), compare two values and return a boolean (true or false). Logical operators (and, or, not) combine boolean expressions.
- Arithmetic operators for calculations.
- Comparison operators for checking equality and order.
- Logical operators for combining true/false conditions.
Conditional statements, primarily if...then...end, are the decision-makers of your code. They allow a block of code to run only if a certain condition is true. For example, if score >= 100 then print("You win!") end will only print “You win!” if the player’s score is 100 or more. You can also use else to specify what happens if the condition is false, and elseif for multiple conditions.
Experiment with different combinations of operators and conditional statements. Try making a script that changes the color of a part if a certain condition is met, or one that prints a different message based on a number variable. These exercises will solidify your understanding of how to control the flow of your program, making your games more dynamic and responsive to user input and game state changes. This is where your games begin to feel truly alive.
Day 3: loops and functions
To make your games efficient and organized, you’ll need loops and functions. Loops allow you to repeat a block of code multiple times without writing it over and over, which is incredibly useful for tasks like counting down or moving objects. Functions, on the other hand, let you group related lines of code into reusable blocks, making your scripts cleaner, easier to manage, and more powerful. Together, they are essential for creating complex game mechanics.
Automating tasks with loops
Lua offers several types of loops. The for loop is great for when you know how many times you want to repeat something, like iterating a specific number of times. The while loop continues as long as a certain condition is true, which is perfect for scenarios where you don’t know the exact number of repetitions beforehand. For example, you might use a while loop to keep a door open until a player steps on a pressure plate.
forloops for fixed repetitions.whileloops for condition-based repetitions.- Avoid infinite loops; ensure conditions eventually become false.
Functions are like mini-programs within your main script. You define them once, and then you can call them whenever you need their specific task performed. For example, you could create a function called givePlayerPoints() that adds points to a player’s score. This approach promotes modularity, meaning you can break down complex problems into smaller, more manageable pieces. Functions can also take arguments (inputs) and return values (outputs), making them incredibly versatile.
Practice creating loops that change the properties of multiple parts in your game, or functions that perform specific actions like spawning an item or displaying a message. Understanding how to effectively use loops and functions will dramatically improve the efficiency and readability of your code. It’s a critical step in moving from simple scripts to more sophisticated game designs, allowing you to manage complexity and build bigger, better worlds.
Day 4: tables and object-oriented programming basics
As your games grow more complex, you’ll need ways to organize larger amounts of data and interact with game objects efficiently. Day four introduces tables, Lua’s incredibly versatile data structure, and the basics of object-oriented programming (OOP) as applied in Roblox. Tables allow you to store collections of related data, while OOP concepts help you design your game objects in a structured and intuitive manner, making your code more manageable and scalable.
Organizing data with tables
Tables in Lua are like super-powered lists or dictionaries. They can hold any type of data, including other tables, and you can access items by their numerical index (like a list) or by a key (like a dictionary). For instance, you could have a table holding all the player’s inventory items, or a table defining the properties of different enemy types. This flexibility makes tables indispensable for game development.
- Tables store collections of data.
- Access elements by numerical index or string key.
- Can store various data types, including functions.
Object-oriented programming (OOP) is a paradigm that structures code around “objects” rather than functions and logic. In Roblox, almost everything is an object: parts, players, scripts, and even the game itself. These objects have properties (like color or position) and methods (actions they can perform, like :Destroy() or :MoveTo()). Understanding how to interact with these objects using Lua is crucial for building interactive games.
Practice creating tables to store information about your game elements, such as a list of item names and their prices. Then, try writing scripts that interact with Roblox objects, changing their properties or calling their methods. For example, make a script that changes a part’s transparency or color when a player touches it. This hands-on experience with tables and object interaction will unlock a new level of control over your Roblox creations, allowing for more dynamic and complex game behaviors.
Day 5: events and services
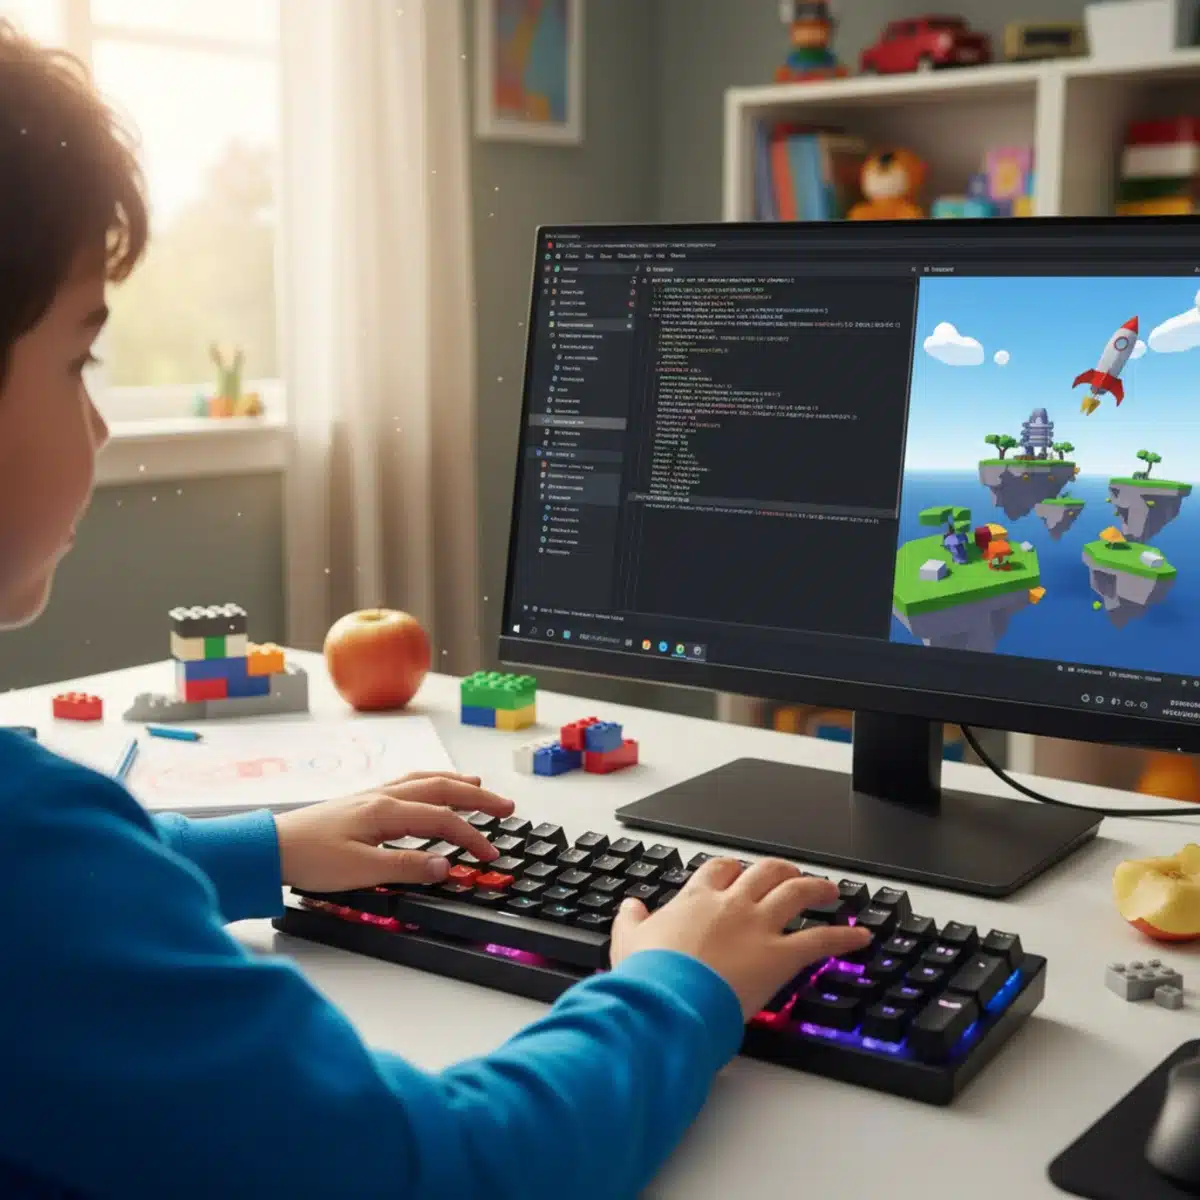
Roblox games are all about interaction, and that’s where events come in. Events are like notifications that tell your script when something important has happened, such as a player touching a part or clicking a button. Services are built-in Roblox features that provide access to various game functionalities, from managing players to handling physics. Together, events and services are the backbone of dynamic and responsive Roblox experiences.
Responding to game events
Every interactive element in Roblox has events you can connect to. For instance, a Part has a Touched event, a Button has a ClickDetector.MouseClick event, and a Player has a CharacterAdded event. You use the :Connect() method to link an event to a function that will run when that event occurs. This is how you make your game respond to player actions and environmental changes, creating engaging gameplay loops.
- Use
:Connect()to link functions to events. - Common events include
Touched,MouseClick, andCharacterAdded. - Events enable interactive and dynamic gameplay.
Roblox services provide access to a wide range of functionalities. For example, game.Players gives you access to all players in the game, game.Workspace contains all the physical objects, and game.ServerStorage is for storing items that only the server needs to access. By using these services, you can manipulate players, create new objects, manage game data, and much more. Learning to navigate and utilize these services is key to building comprehensive games.
Practice connecting events to functions. Try making a script where a light turns on when a player enters a room, or where an item is given to a player when they click a specific block. Experiment with different services to create new parts, change player properties, or even save game data. Mastering events and services will allow you to build truly interactive and engaging Roblox experiences, where every action has a reaction.
Day 6: user input and game interfaces
To make your games truly playable, players need a way to interact with them, and you need to provide clear information. Day six focuses on handling user input, such as keyboard presses and mouse clicks, and creating effective game interfaces (GUIs). These elements are crucial for player control, displaying game information, and enhancing the overall user experience within your Roblox creations.
Capturing player interactions
Capturing user input involves listening for specific actions from the player. Roblox provides services like UserInputService for handling keyboard and mouse input, and ContextActionService for mapping actions to various input types (like a joystick button or a screen tap). This allows you to define custom controls for your game, making it intuitive and fun to play. For example, you can detect when a player presses the ‘E’ key to interact with an object.
UserInputServicefor keyboard and mouse input.ContextActionServicefor flexible action mapping.- Custom controls enhance gameplay and user experience.
Game interfaces, or GUIs (Graphical User Interfaces), are the visual elements players see on their screen, such as health bars, score displays, or interactive menus. You create GUIs using ScreenGui objects, which contain elements like TextLabel, TextButton, and ImageLabel. Scripting these GUIs allows you to update information dynamically, respond to button clicks, and create immersive in-game menus. A well-designed GUI is essential for conveying information and providing a smooth player experience.
Practice creating a simple GUI with a text label that updates a player’s score, or a button that teleports the player to a different location. Experiment with different input methods to control a character or trigger an ability. Combining user input with GUI elements will allow you to build sophisticated and engaging game mechanics, giving players meaningful ways to interact with your world. This is where your game truly becomes an interactive experience.
Day 7: debugging and refining your game
On the final day of your Roblox Scripting Guide: Master Lua Fundamentals in Just 7 Days, we focus on two critical aspects of game development: debugging and refining. Debugging is the art of finding and fixing errors in your code, an inevitable part of the creation process. Refining your game involves polishing its mechanics, improving the user experience, and ensuring everything runs smoothly. These steps are crucial for transforming a functional game into a truly enjoyable one.
Finding and fixing errors
Errors, or “bugs,” are a natural part of coding. Roblox Studio provides powerful debugging tools. The Output window is your best friend, displaying error messages and print statements that can help you pinpoint where things went wrong. Using print() statements strategically throughout your code allows you to track variable values and confirm that your script is executing as expected. The Breakpoints feature also lets you pause your script’s execution at specific lines to inspect the state of your variables.
- Utilize the Output window for error messages.
- Use
print()statements to track values. - Employ breakpoints to pause script execution.
Refining your game goes beyond just fixing bugs. It involves playtesting, gathering feedback, and making iterative improvements. This could mean adjusting game balance, improving visual effects, optimizing performance, or making the controls more intuitive. Small tweaks can often have a huge impact on how players perceive and enjoy your game. Don’t be afraid to ask friends or family to playtest and give you honest feedback.
Spend time debugging any lingering issues in your projects from the previous days. Then, focus on one or two areas for refinement. Perhaps make a jump more responsive, or add a visual effect when a player collects an item. This final day is about ensuring your game is not just functional, but genuinely enjoyable and polished. By embracing debugging and refinement, you’ll develop a critical mindset for creating high-quality Roblox experiences.
| Key Concept | Brief Description |
|---|---|
| Variables & Data Types | Containers for information like numbers, text, or true/false values, essential for dynamic code. |
| Loops & Functions | Tools for repeating code (loops) and organizing reusable code blocks (functions) to improve efficiency. |
| Events & Services | Mechanisms for scripts to react to game occurrences and access built-in Roblox functionalities. |
| Debugging & Refining | The process of identifying and fixing code errors, followed by polishing and optimizing game features. |
Frequently asked questions about Roblox Lua scripting
▼
Lua is widely considered one of the easiest programming languages for beginners, especially within Roblox. Its clear syntax and straightforward structure make it an excellent starting point for young creators to learn fundamental coding concepts without being overwhelmed by complexity.
▼
The most crucial initial step is understanding variables and data types. These are the fundamental building blocks for storing and manipulating information in your game. Once you grasp how to use them, other concepts like operators and conditional statements become much easier to comprehend.
▼
While creating a complex, fully polished game in 7 days is challenging, this guide aims to teach you the fundamental Lua scripting concepts necessary to start building basic interactive experiences. With dedication, you can certainly create a simple yet functional game by the end of the week.
▼
Roblox offers extensive official documentation, including the Roblox Creator Hub, which has tutorials and API references. There are also countless community forums, YouTube tutorials, and online courses specifically designed for Roblox Lua scripting, providing ample support for learners.
▼
Practice is absolutely vital. Consistent, hands-on application of what you learn is the most effective way to solidify your understanding and develop problem-solving skills. Don’t just read about scripting; actively build, experiment, and debug your own creations in Roblox Studio every day.
Conclusion
This Roblox Scripting Guide: Master Lua Fundamentals in Just 7 Days has provided you with a structured pathway to understanding the core concepts of Lua programming within the Roblox environment. From setting up your workspace and declaring variables to handling events, designing interfaces, and refining your creations, you’ve gained invaluable knowledge to kickstart your game development journey. Remember that learning to code is a continuous process, and the fundamentals you’ve mastered this week are the foundation for countless creative possibilities. Keep experimenting, keep building, and most importantly, keep having fun as you bring your unique game ideas to life on Roblox. The world is waiting for your next big creation!

