Roblox Animation Tips: Create Stunning Animations
Advertisements
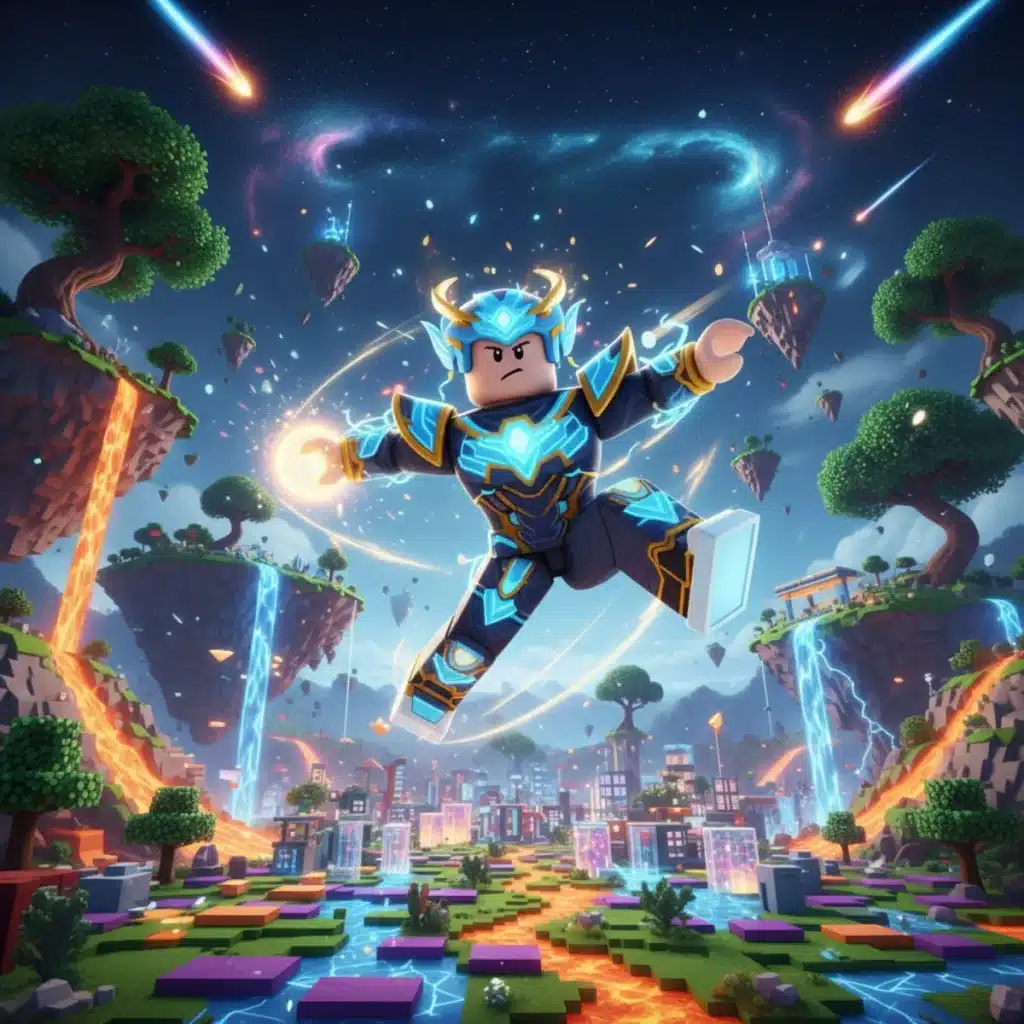
Mastering Roblox animation tips is key to creating engaging and immersive experiences, transforming static models into dynamic, expressive characters and objects within your games.
Anúncios
Are you ready to elevate your Roblox games from static scenes to dynamic, living worlds? Learning advanced Roblox animation tips can transform your creations, making characters move with personality and objects interact realistically. This guide will help you unlock the full potential of Roblox Studio’s animation tools, ensuring your projects stand out.
Understanding the Basics of Roblox Animation
Before diving into complex techniques, it’s crucial to grasp the fundamental concepts behind Roblox animations. Animation in Roblox Studio involves creating a sequence of poses, or keyframes, that tell a character or object how to move over time. This process brings your game elements to life, adding depth and interactivity.
Anúncios
Roblox Studio provides a powerful Animation Editor that allows creators to manipulate character joints, record movements, and refine timing. Getting comfortable with this editor is the first step towards producing high-quality animations. It’s where all the magic happens, from simple idle stances to elaborate action sequences.
Keyframe Management and Timing
Effective keyframe management is the backbone of smooth animations. Each keyframe represents a specific pose at a particular point in time. The transitions between these keyframes determine the flow and speed of your animation. Understanding how to space out your keyframes is essential for achieving natural-looking motion.
- Start and End Poses: Define clear start and end keyframes for every action.
- Breakdown Poses: Add intermediate keyframes between your main poses to guide the motion.
- Timing and Spacing: Adjust the time between keyframes to control the animation’s speed and rhythm. Closer keyframes mean faster motion, while farther keyframes result in slower movement.
- Ease-in and Ease-out: Utilize the easing functions in the Animation Editor to make movements start and end smoothly, avoiding abrupt changes.
Understanding Joints and CFrame Manipulation
Roblox animations primarily manipulate the CFrame (Coordinate Frame) of a character’s joints. Each part of a Roblox character, like an arm or a leg, is connected by joints. Animating involves rotating and positioning these joints over time. Mastering CFrame manipulation allows for precise control over every nuance of movement, from a subtle head tilt to a powerful jump.
The Animation Editor simplifies this by providing visual tools to rotate and move parts, automatically recording the CFrame data for each keyframe. However, a deeper understanding of how these joints interact can help you troubleshoot issues and create more realistic movements.
In essence, the foundation of great Roblox animations lies in understanding how keyframes, timing, and joint manipulation work together. By mastering these basics, you set yourself up for success in creating more complex and compelling animated sequences.
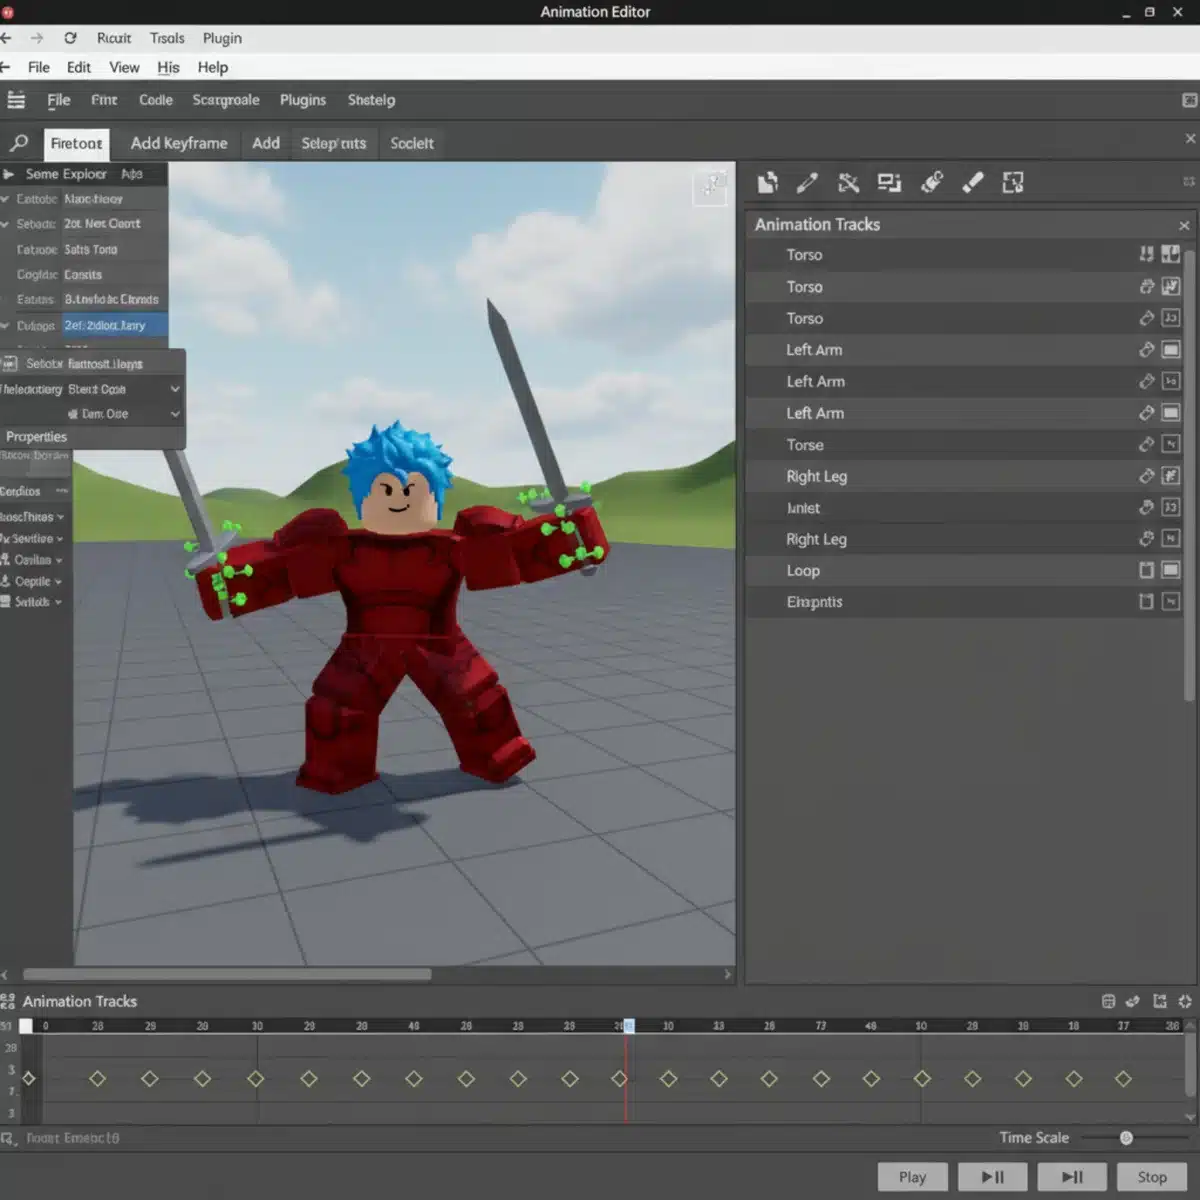
Mastering the Roblox Animation Editor
The Roblox Animation Editor is your primary tool for bringing characters and objects to life. It’s a robust feature within Roblox Studio that allows for intuitive creation and refinement of animated sequences. Becoming proficient with its various functionalities is paramount for any aspiring Roblox animator.
From setting up your character rig to exporting the final animation, each step within the editor offers opportunities to fine-tune your work. Familiarity with its interface, hotkeys, and advanced features can significantly speed up your workflow and improve the quality of your output.
Interface and Tools Overview
Upon opening the Animation Editor, you’ll see a timeline, a 3D viewport, and various control panels. The timeline is where you manage your keyframes, adjusting their position and duration. The 3D viewport allows you to directly manipulate your character or object, seeing the changes in real-time. The control panels offer options for playback, looping, and exporting your animations.
- Timeline: Visual representation of your animation’s duration and keyframe placement.
- Keyframe Selector: Select, copy, paste, and delete individual keyframes or groups.
- Playback Controls: Play, pause, stop, and loop your animation to review your work.
- Easing Styles: Apply different easing curves to keyframes for smoother transitions.
Efficient Workflow Techniques
An efficient workflow is crucial for productive animation. Start by planning your animation; sketching out the main poses can save a lot of time. Use reference videos or real-life movements for inspiration to make your animations more believable. Break down complex animations into smaller, manageable segments.
Utilize Roblox Studio’s built-in features like the ‘Ghost’ tool, which shows previous frames, helping you maintain consistency in motion. Regularly save your work and test your animations in-game to ensure they perform as expected. Don’t be afraid to iterate and refine; animation is often a process of trial and error.
Mastering the Animation Editor involves not just knowing what each button does, but understanding how to use them together to create compelling movements. Experimentation and practice are key to developing a strong intuition for the tool.
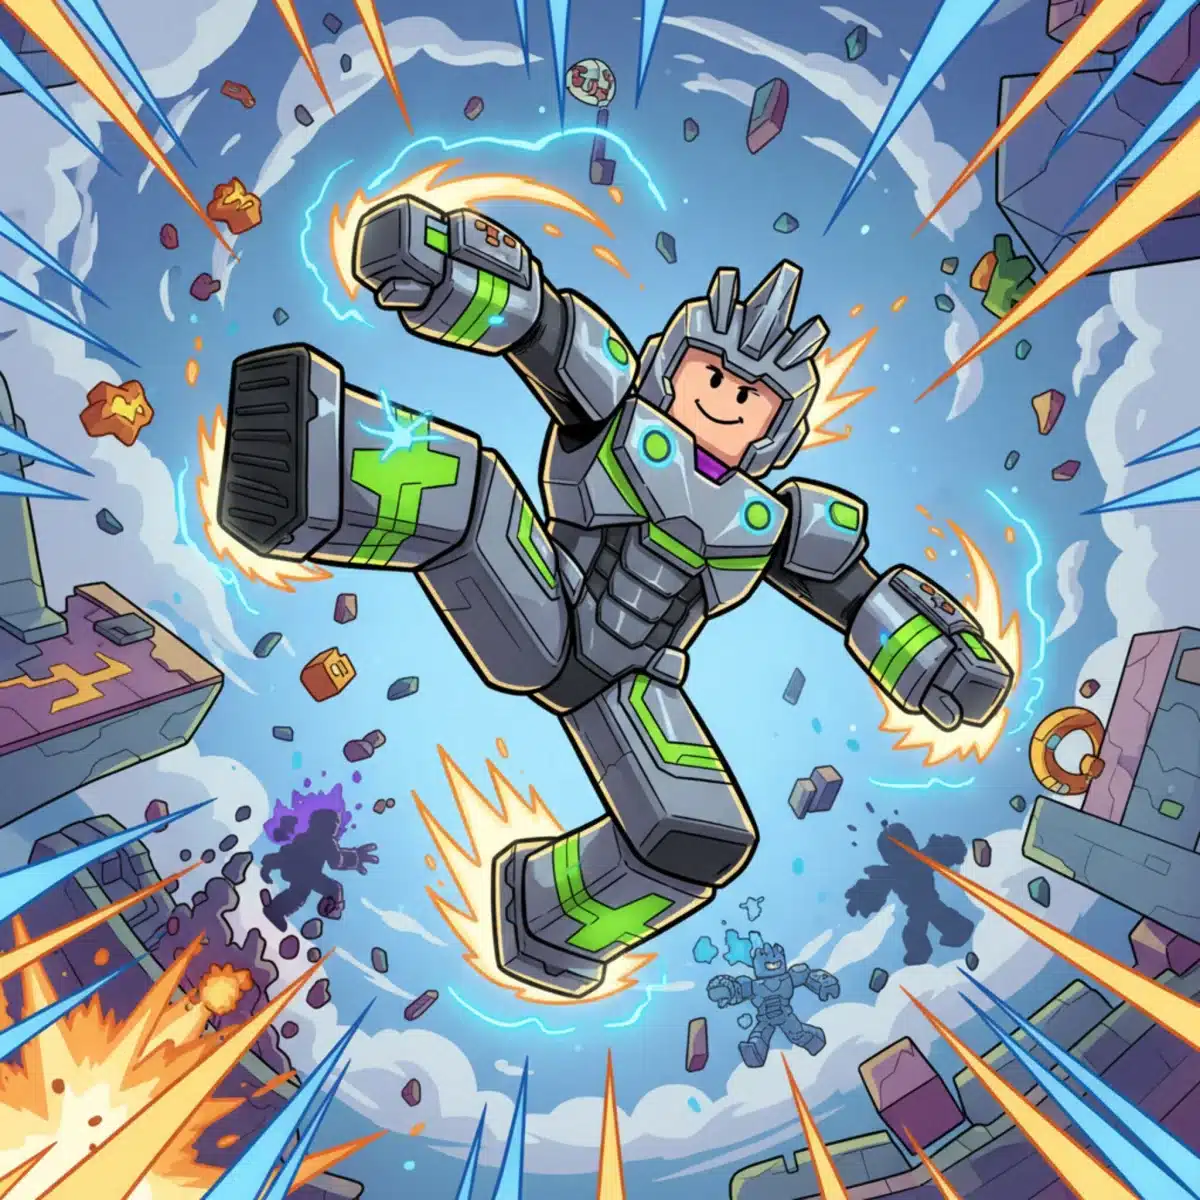
Advanced Animation Techniques for Realism
Once you’re comfortable with the basics, it’s time to explore advanced Roblox animation tips that can add a layer of realism and polish to your creations. These techniques go beyond simple keyframing, focusing on principles that animators use across various mediums to achieve lifelike motion.
Adding realism means considering how weight, momentum, and external forces affect movement. It’s about making your characters feel grounded and reactive to their environment, rather than just floating through space. This level of detail can significantly enhance player immersion.
Incorporating Principles of Animation
The 12 principles of animation, originally developed by Disney animators, are invaluable for creating believable motion. While not all are directly applicable to Roblox Studio’s editor, understanding them can guide your creative process.
- Squash and Stretch: Exaggerate the deformation of objects to convey speed, weight, and impact.
- Anticipation: Prepare the audience for an action by showing a preceding movement.
- Follow Through and Overlapping Action: Parts of a body or object continue to move after the main action has stopped, or different parts move at different rates.
- Timing: The number of frames for an action to create the illusion of speed or slowness.
- Arcs: Most natural movements follow an arched trajectory.
Weight and Momentum Simulation
Simulating weight and momentum is crucial for realistic animations. A heavy object will move slower and with more force than a light one. When a character jumps, they gather momentum before lift-off and continue to carry that momentum upon landing. Incorporate these physics-based considerations into your keyframes.
For example, a character swinging a heavy sword might have a slower wind-up and a more pronounced follow-through, whereas a light punch would be quicker and more abrupt. Thinking about how gravity and mass influence motion will make your animations far more convincing.
By consciously applying these advanced principles, your Roblox animations will transcend basic movement, offering a more engaging and visually appealing experience for players. It’s about more than just moving parts; it’s about conveying character and physical presence.
Optimizing Animations for Performance
Creating stunning animations is only half the battle; ensuring they run smoothly without causing performance issues in your Roblox game is equally important. Optimized animations contribute to a better user experience, preventing lag and maintaining high frame rates across different devices.
Poorly optimized animations can quickly bog down a game, especially when many animated characters or objects are present. Learning how to balance visual quality with performance efficiency is a key skill for any Roblox developer.
Reducing Keyframe Count
One of the most direct ways to optimize animations is by reducing the number of keyframes. While detailed animations often require many keyframes, unnecessary keyframes can add computational overhead. Review your animations for redundant keyframes that don’t significantly alter the motion.
Consider using fewer keyframes for subtle movements and relying more on the editor’s easing functions to smooth transitions. Sometimes, a few well-placed keyframes with intelligent easing can achieve the same effect as many keyframes with linear interpolation.
Efficient Animation Scripting
Beyond the animation data itself, how you load and play animations in your game scripts can impact performance. Utilize Roblox’s AnimationController and Animator instances efficiently. Avoid repeatedly loading the same animation asset if it’s already available.
- Pre-load Animations: Load animations at the start of a game or level to prevent loading hitches during gameplay.
- Reuse Animation Tracks: Instead of creating new
AnimationTrackinstances every time, reuse existing ones when possible. - Conditional Playback: Only play animations when they are visible to the player or actively needed, reducing unnecessary processing.
- Server vs. Client: Determine whether an animation needs to be replicated across the server or can be handled locally by the client to minimize network strain.
By focusing on both the data size of your animations and the efficiency of your animation scripts, you can ensure your beautiful creations run flawlessly, providing a seamless experience for all players. This balance is crucial for a successful Roblox game.
Bringing Animations to Life with Scripting
While the Animation Editor is where you craft the visual sequences, scripting is what truly brings your Roblox animations to life within your game. Through Lua scripts, you control when animations play, how they interact with player input, and how they respond to game events. This integration is what makes animations dynamic and interactive.
Understanding how to use Roblox API functions related to animation is essential for creating a truly engaging experience. From simple walk cycles to complex combat moves, scripting provides the control to execute your animated vision.
Playing and Stopping Animations
The core of animation scripting involves loading an animation into an AnimationTrack and then playing or stopping it. This is typically done on the client-side for player characters to ensure responsiveness, but can also be managed on the server for NPCs or environmental animations.
local character = script.Parent
local humanoid = character:WaitForChild("Humanoid")

local animator = humanoid:WaitForChild("Animator")

local animation = Instance.new("Animation")
animation.AnimationId = "rbxassetid://YOUR_ANIMATION_ID"

local animationTrack = animator:LoadAnimation(animation)

-- To play the animation:
animationTrack:Play()

-- To stop the animation:
animationTrack:Stop()
Remember to replace "rbxassetid://YOUR_ANIMATION_ID" with the actual ID of your animation asset. This basic structure forms the foundation for all animation playback in your game.
Responding to Player Input and Game Events
Animations become truly interactive when they react to player input or game events. You can use conditional statements and event listeners to trigger specific animations. For instance, when a player presses a jump key, a jump animation plays; when they take damage, a flinch animation might activate.
- Input Service: Detect player key presses or mouse clicks to trigger actions.
- Humanoid State Changes: Listen for changes in the player’s humanoid state (e.g., running, jumping, falling) to switch animations.
- Proximity Prompts: Trigger animations when players interact with specific objects.
- Remote Events: Communicate between client and server to synchronize animations in multiplayer games.
By thoughtfully integrating scripting with your animations, you can create a seamless and responsive experience that makes your Roblox game feel alive and engaging for every player.
Exporting and Importing Animations in Roblox Studio
Once your animations are perfected in the Animation Editor, the next critical step is to correctly export them and then import them into your Roblox game. This process ensures that your animated creations are accessible and usable within your projects, ready to be controlled by scripts.
Understanding the proper workflow for exporting and importing is vital to avoid common pitfalls and ensure your animations function as intended within the live game environment. It bridges the gap between creation and implementation.
Exporting Your Animations
After you’ve finished animating, you’ll need to export your animation as an asset to Roblox. The Animation Editor provides a straightforward way to do this. Simply click the ‘Export’ button, usually found within the editor’s menu or control panel. You’ll be prompted to give your animation a name and description.
Upon successful export, Roblox will provide you with an Asset ID (rbxassetid://...). This ID is crucial, as it’s what your scripts will use to reference and load the animation in your game. Always keep a record of these IDs, perhaps in a dedicated script or a text file for easy access.
- Naming Conventions: Use clear, descriptive names for your animations (e.g., ‘PlayerWalkCycle’, ‘EnemyAttackAnimation’).
- Descriptions: Add a brief description to help you remember the animation’s purpose.
- Asset ID Storage: Store the generated Asset ID in a safe and accessible place.
Importing and Using Animations in-Game
With your animation exported and its Asset ID in hand, you can now integrate it into your game. This typically involves creating an Animation instance within your character or model, setting its AnimationId property to your exported Asset ID, and then loading it via an Animator.
For player characters, animations are often placed within a Script or LocalScript inside the StarterCharacterScripts or directly in the character model itself. For NPCs or environmental elements, the animation might be part of a server-side script or a client-side script depending on the desired effect and performance considerations.
Properly exporting and importing animations ensures that your creative work in the editor translates directly into dynamic gameplay. This step is the final link in the chain, allowing players to experience the fluid movements you’ve painstakingly crafted.
Troubleshooting Common Animation Issues
Even with the best Roblox animation tips, you might encounter issues during the animation process. Troubleshooting is a normal part of development, and knowing how to diagnose and fix common problems can save you a lot of time and frustration. Many issues stem from small errors in setup or scripting.
From animations not playing to unexpected visual glitches, identifying the root cause quickly is key to maintaining your workflow. This section will cover some of the most frequent animation problems and their solutions.
Animation Not Playing or Playing Incorrectly
This is perhaps the most common issue. If your animation isn’t playing at all, or it’s playing but looks wrong, start by checking these points:
- Correct Asset ID: Double-check that the
AnimationIdin your script matches the Asset ID of your exported animation. A single typo can prevent it from loading. - Humanoid and Animator: Ensure your character or model has a
Humanoidand anAnimatorinstance. Animations require these components to function. - Priority Settings: Different animations have different priorities (e.g., Idle, Movement, Action). An animation with lower priority might be overridden by one with higher priority already playing. Adjust animation priorities in the editor or through scripts.
- Animation Length: Verify that the animation track’s duration is correctly set and that there are enough keyframes to define the movement.
Rigging and Joint Problems
Sometimes, the issue isn’t with the animation data itself, but with the character rig. If parts of your character are detached or moving unnaturally, it often points to rigging problems.
Ensure all parts of your character are properly welded or connected by joints. Use the ‘Rig Builder’ plugin in Roblox Studio to create a well-structured rig. Check for inverse kinematics (IK) issues if you’re using advanced rigging techniques, as incorrect IK setup can lead to strange limb behavior. Re-rigging or adjusting weld constraints can often resolve these issues.
Effective troubleshooting involves a systematic approach, checking the most common culprits first. By carefully reviewing your setup, Asset IDs, scripting, and rig integrity, you can resolve most animation problems and get back to creating captivating movements.
| Key Technique | Brief Description |
|---|---|
| Keyframe Management | Strategically placing and timing poses for smooth, natural movement. |
| Easing Functions | Using curves to make animations start and end gracefully, avoiding abruptness. |
| Animation Principles | Applying concepts like squash/stretch and anticipation for added realism. |
| Performance Optimization | Reducing keyframes and efficient scripting for smooth gameplay. |
Frequently Asked Questions About Roblox Animation
The best way to begin is by familiarizing yourself with Roblox Studio’s Animation Editor. Experiment with basic movements on a simple character rig, focusing on keyframe placement and timing. Utilize official Roblox tutorials and community resources for guided learning and practical exercises.
To achieve realism, focus on animation principles like squash and stretch, anticipation, and follow-through. Incorporate weight and momentum into your movements, and use easing functions for smooth transitions. Observing real-life motion and using reference videos can greatly enhance your animations.
While Roblox Studio has its own robust editor, you can create custom rigs and models in external 3D software like Blender and import them into Roblox. However, the actual animation data for these rigs must still be created or refined within Roblox Studio’s Animation Editor to function correctly.
Animation priorities determine which animation takes precedence when multiple animations attempt to play on the same character part. Setting correct priorities (e.g., ‘Action’ for combat, ‘Movement’ for walking) ensures that your most important animations are visible and override less critical ones.
First, verify your AnimationID in the script matches the exported asset. Check if your character has both a Humanoid and an Animator. Ensure animation priorities are correctly set, and there are no conflicting animations. Lastly, inspect your character’s rig for any broken joints or welds.
Conclusion
Mastering Roblox animation is a journey that combines technical skill with artistic vision. By applying these Roblox animation tips, from understanding fundamental principles to optimizing performance and troubleshooting common issues, you can transform your static game worlds into dynamic, expressive, and truly unforgettable experiences. The power to create captivating movements lies within your grasp, ready to elevate your Roblox creations to a professional level.


